1. Check Your Electrical Panel
Before installing the charger, make sure your electrical panel can handle the extra load. Most Level‑2 chargers require:
- 32A or 40A circuit
- 7.4kW or 11kW power
- A dedicated breaker
- 6mm or 10mm cable depending on distance
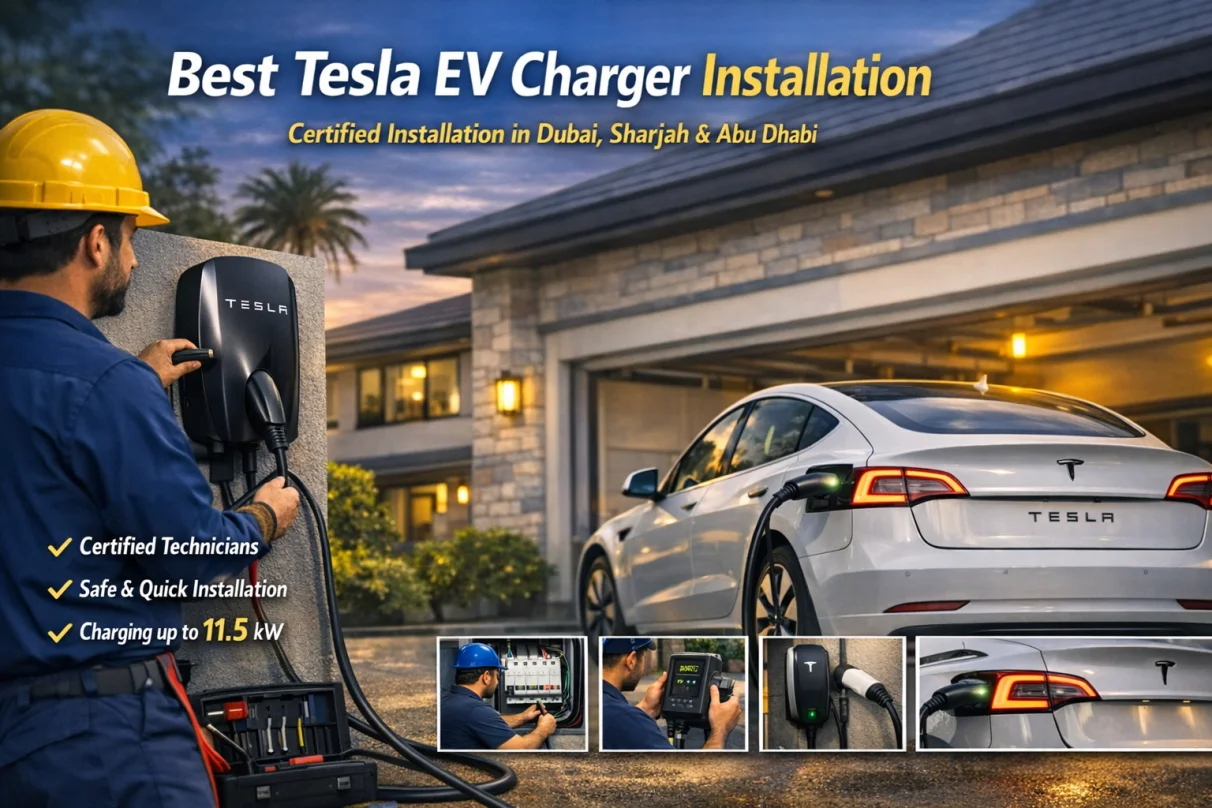
2. Choose the Right Charger
Select a charger that matches your EV and home setup. Popular options include:
- 7.4kW single‑phase chargers
- 11kW three‑phase chargers
- Wall‑mounted chargers
- Portable chargers
3. Install a Dedicated Circuit Breaker
A dedicated MCB or RCBO must be installed to protect the charger and ensure safe operation.
4. Run the Cable to the Charger Location
Use high‑quality outdoor‑rated cable and keep the distance short to reduce voltage drop.
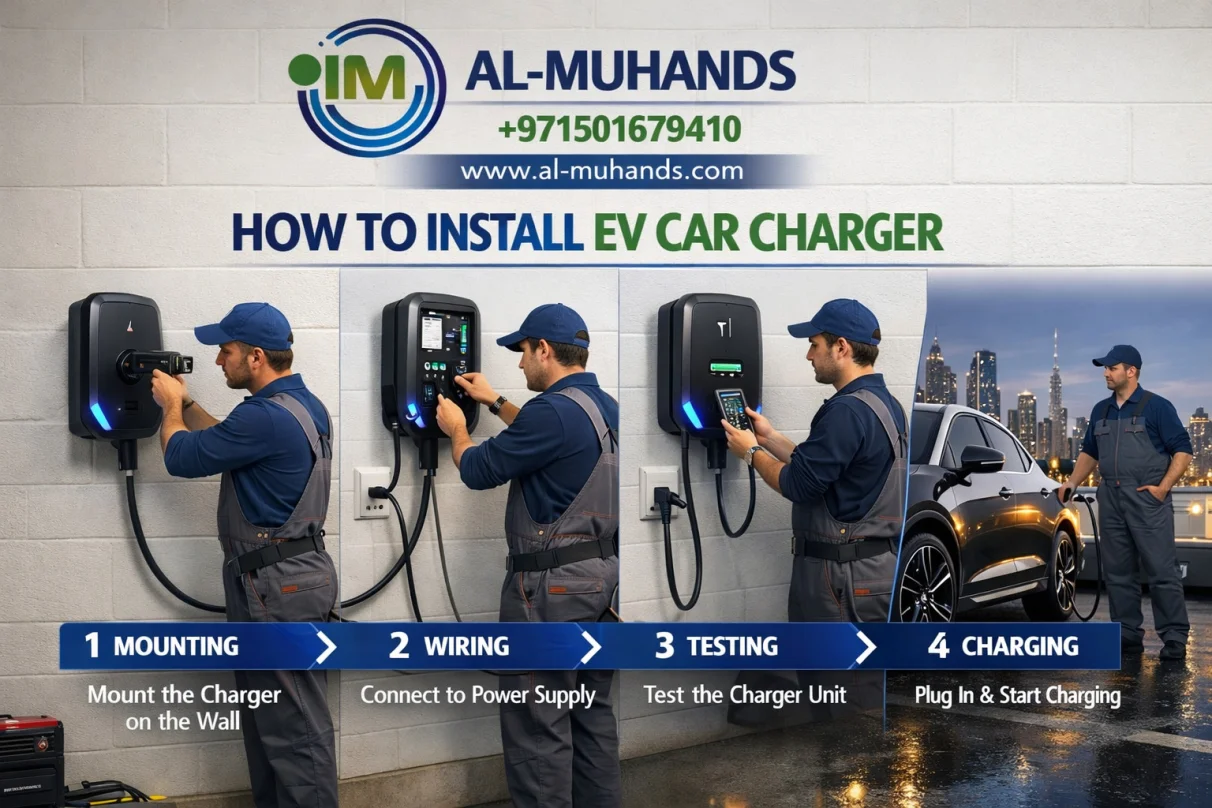
5. Mount the Charger
Install the charger on a solid wall near your parking area, protected from direct sunlight and rain.
6. Final Testing
After installation, test the charger to ensure:
- Charging starts immediately
- No overheating
- No breaker tripping
Installation Cost
In the UAE, installation costs range from AED 500–1200 for basic setups, and AED 1500–3000 if panel upgrades are required.
Safety Tips
- Never use extension cables
- Always use a dedicated breaker
- Hire a certified electrician if unsure
Installing an EV charger at home improves convenience, reduces charging time, and increases your home’s value.